
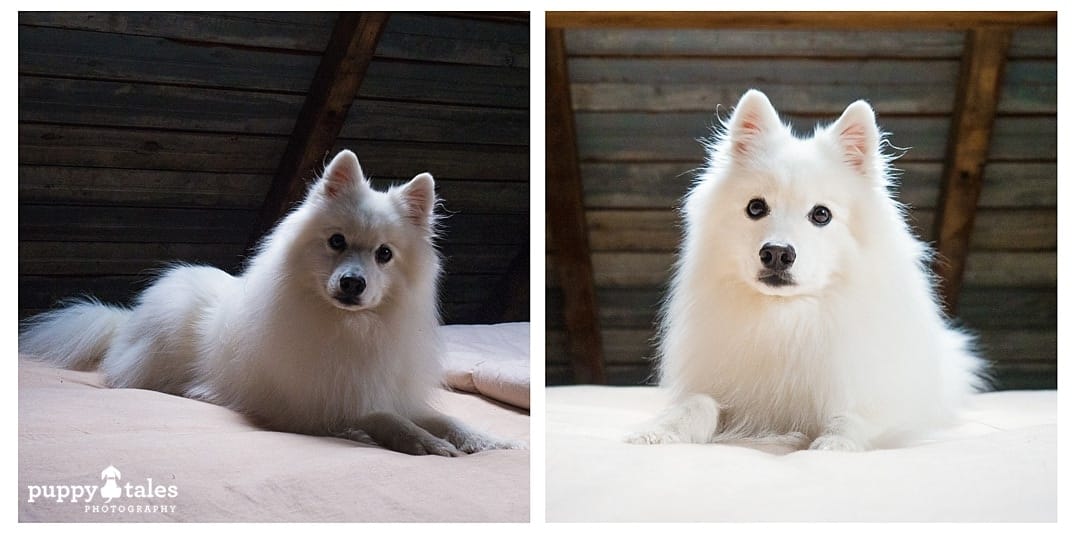
You have an epic idea for a photograph. You compose the scene, the dog tilts their head on cue, you take the picture…only to find your best buddy is a disappointing shadow in the resulting photo. You heart drops, realizing what you see of your dog is not what the camera sees.
What’s to be done?
Add additional lighting of course!
Inspiration in a Flash
We’ve all experienced flash in its crudest form as a popping bulb that bleaches a party scene. But adding additional lighting is so much more flexible and fun, once you learn how to use its potential.

Using a flash is obviously a highly practical way for adding light to a scene and it can also be used to add lighting creatively in your photography. External lighting is often used in the following scenarios:
- In Dim Light: Yes, the classic party scene, but also in low ambient light such as at dusk or in a dark room.
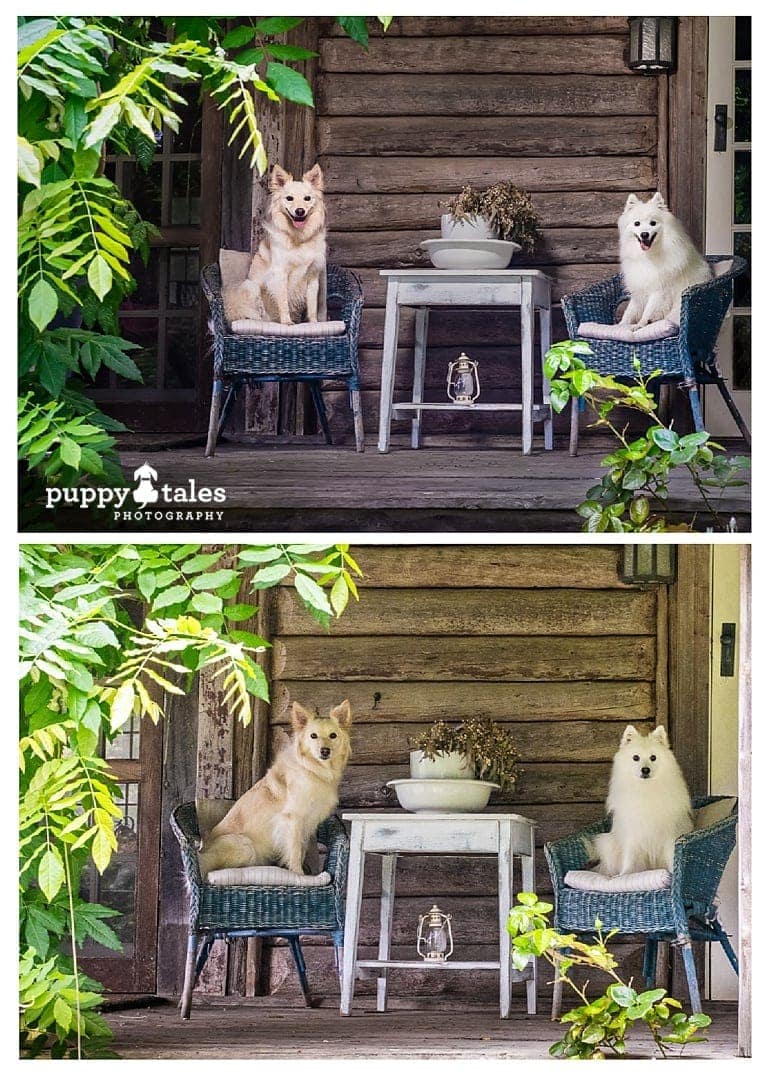
- Fill in Shadow: When the jump between light and dark in a scene is significant (say for example, a bright summer’s day), flash can be used to ‘fill’ in the details in the foreground dark areas.
- Grey Days: When the sun is behind cloud, make shadowless photos pop by adding some contrasting lighting.
- Multiple Flashes: Use external flashes to light areas or elements across a whole scene and to sculpt highlights and shadows as desired.
- Freeze Action: With a fast moving object like a dog, flash can help freeze their motion. This can be especially useful when the ambient light wouldn’t allow a fast enough shutter speed to freeze the motion.
Flash Photography 101
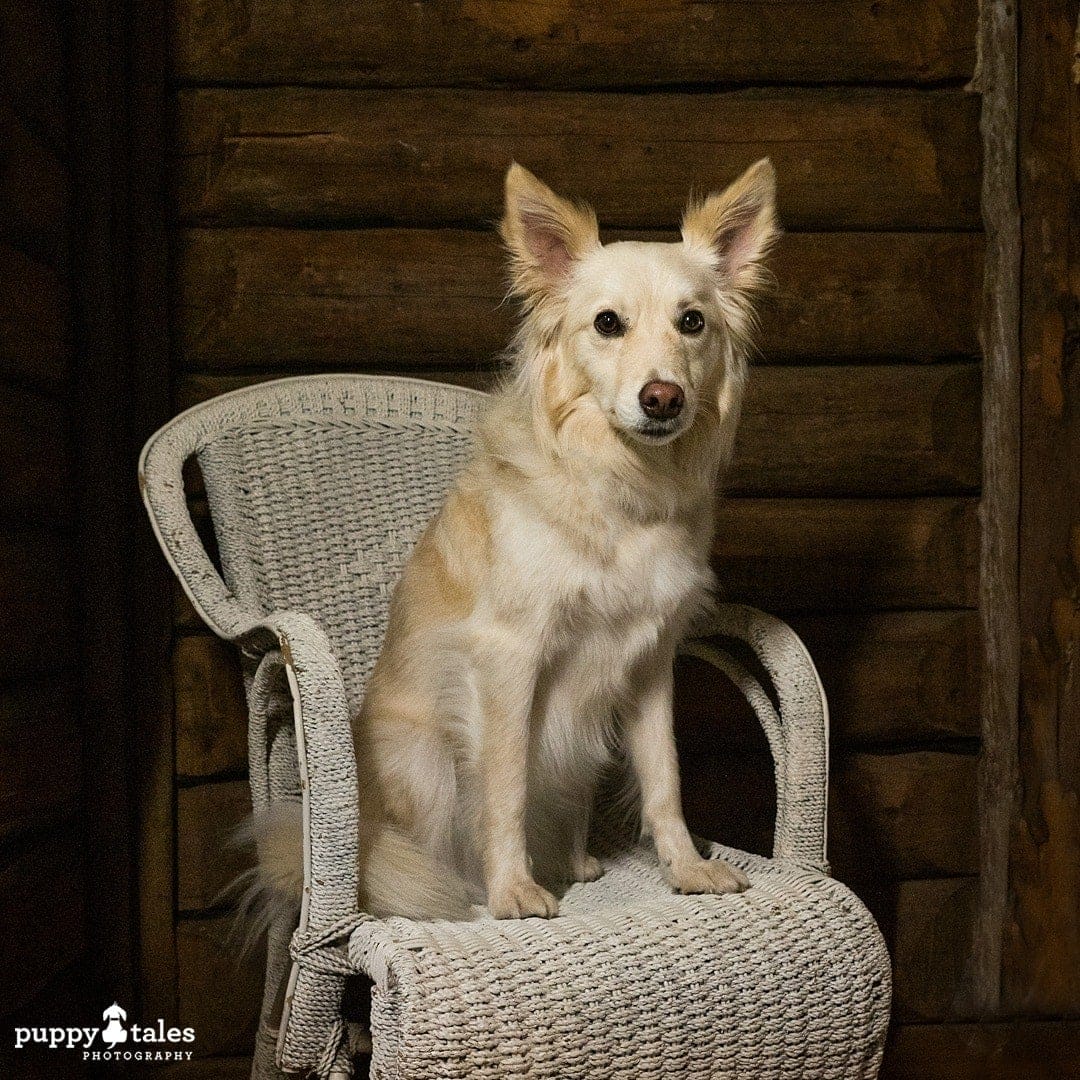
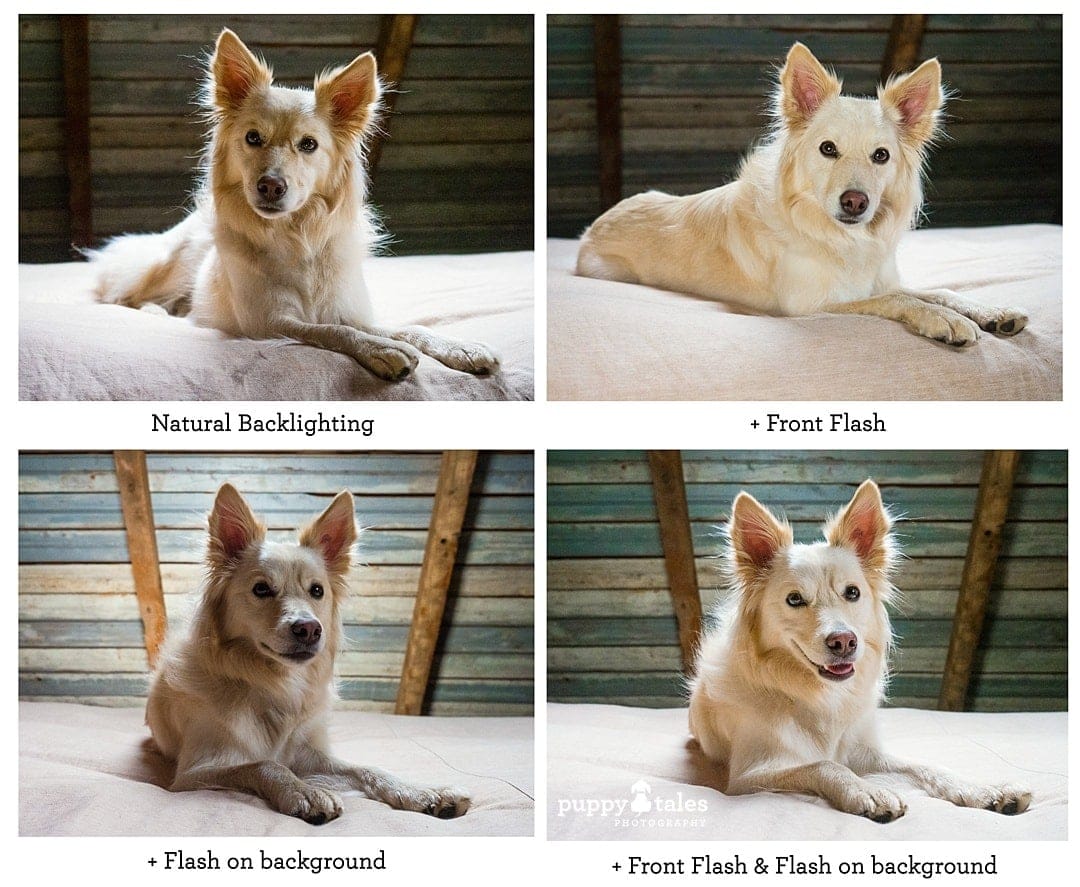
When you take a photo using a flash, it’s like you’re actually taking two photos of the scene in one: the first is of the ambient or natural light of the scene and second is the area/s where the external lighting hits. How you control the overlay between these two can give a range of effects.
For example, in the studio, a flash can be used to completely overpower any ambient light presence. Equally, though you can use flash to balance or add subtle lighting to a scene (rather than compete with or eliminate the natural lighting).
Now for some technical insight to get you started with flash photography…
Flash Photography – The Technical Stuff
In Manual Mode – use the aperture to control the flash. This is because the flash’s power output is tied to the lens aperture and in TTL mode will automatically make adjustments depending on the aperture selected.
Meanwhile, the shutter speed controls the background. Remember, the background generally isn’t lit by the flash and so a longer exposure means a brighter background, independent of what the flash is doing.
In Aperture or Shutter Priority Modes – it is the camera’s exposure compensation which controls the ambient exposure, while the flash compensation controls the flash exposure. For best results, gauge the correct exposure for the scene through the viewfinder. Add flash or additional light on the main subject. Adjust this using flash competition to increase or decrease the output of the flash.
Tips for Pawsome Flash Photography
The basic flash on your camera is not subtle and produces high-intensity light that is thrown straight on to the subject to create deep, hard-edged shadows. Whilst often an unsympathetic result. And from the mounted on top of camera position, the flashlight can also ‘bounce’ straight back into the camera from a subject’s retinas creating the red eyes in humans and green ghost eyes in dogs that none of us want in our photos.
The far better practice is modify this burst of light by angling it, diffusing it, or bouncing it off something such as a ceiling. This softens the light and changes it’s direction for a more flattering effect. And this is much easier to do if you have an externally mounted flash or a means of angling the light to control it relative to the camera and the dog, avoiding harsh directness.
It will also really pay to know your camera’s maximum sync speed. This is the fastest shutter speed at which the flash will synchronise with the camera. As a rule, use shutter speeds slower than the max sync speed with flash, or if you want something super fast use a flash unit that has a High Speed Sync mode.
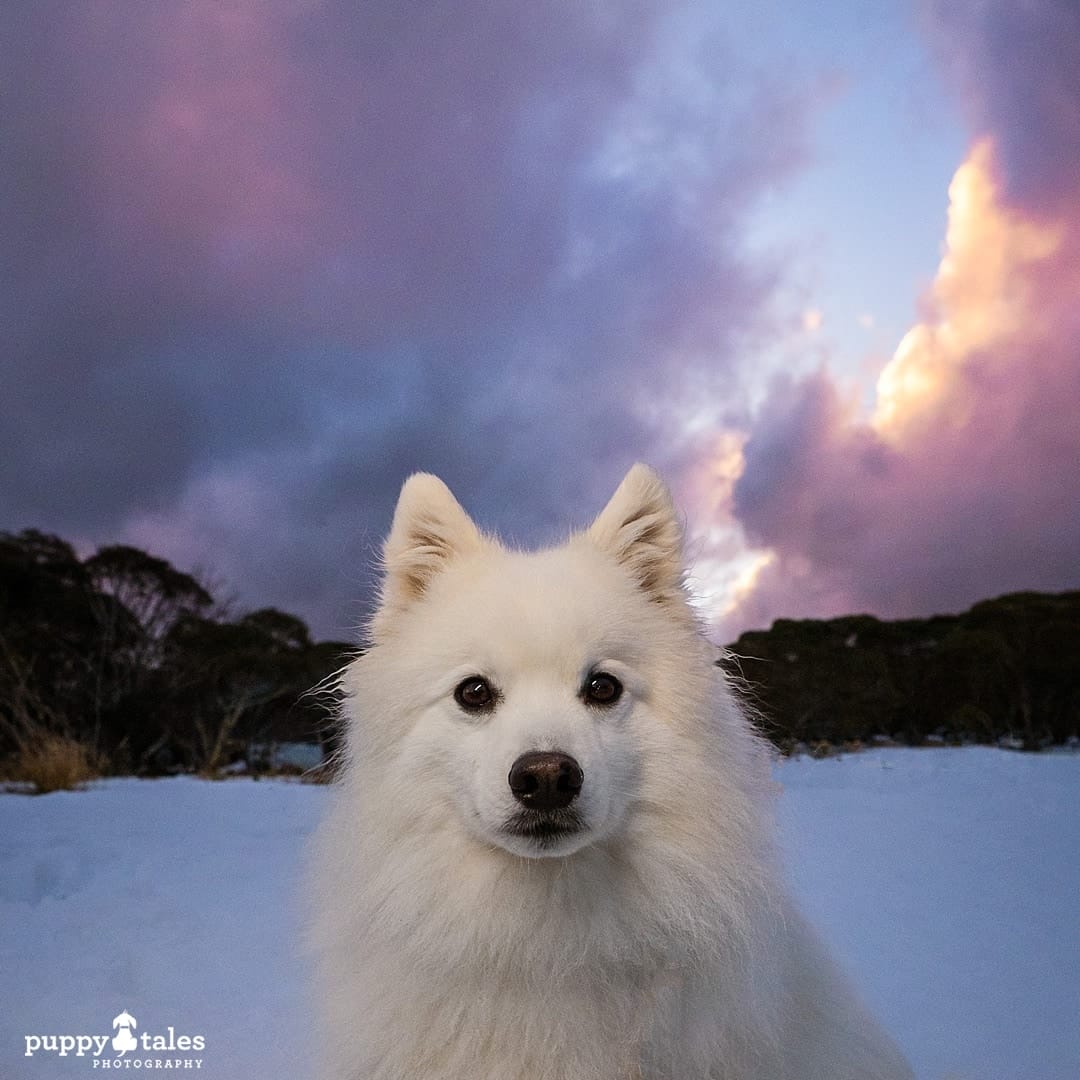
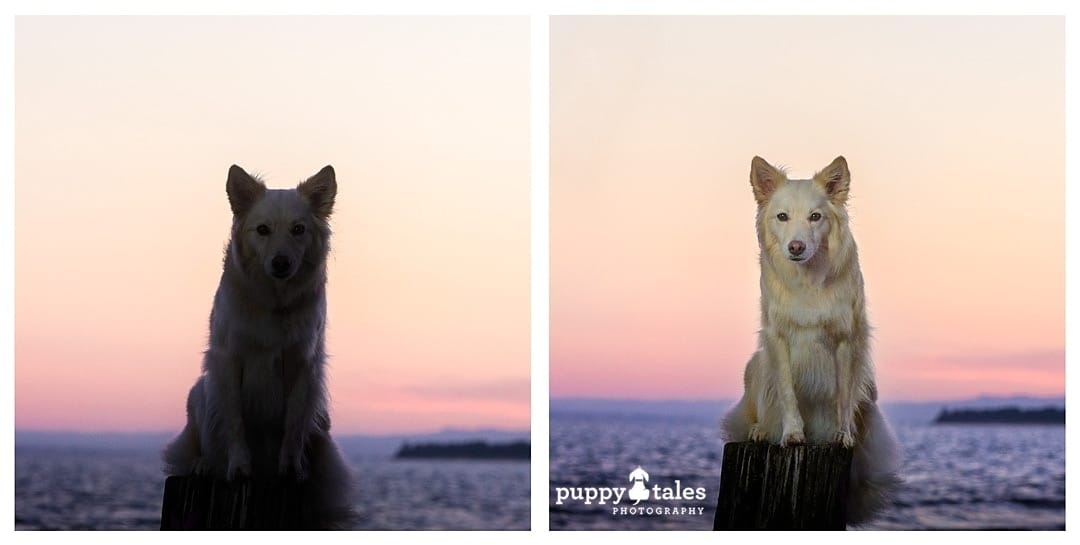
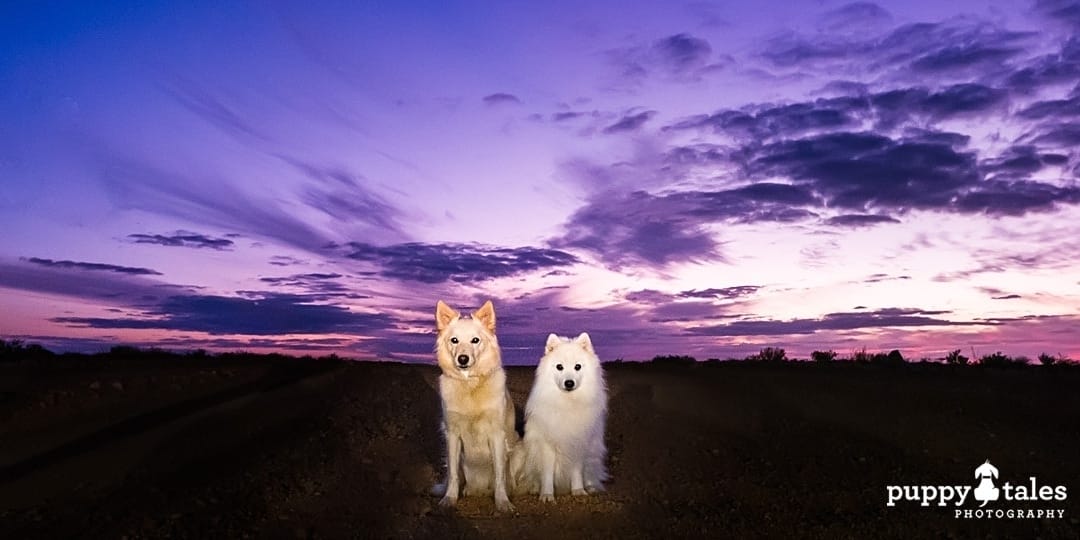
And lastly, experiment! Yes, the camera has auto settings, but these are there as a starting point or guide rather than rule. If you’re photographing your dog against a sunset, play around with flash and the ambient light to see what effects you get. You will be pleasantly surprised! You can darken the background ambient light to make the sky darker, more colourful or moodier. You can cast fun or interesting shadows from your dog.
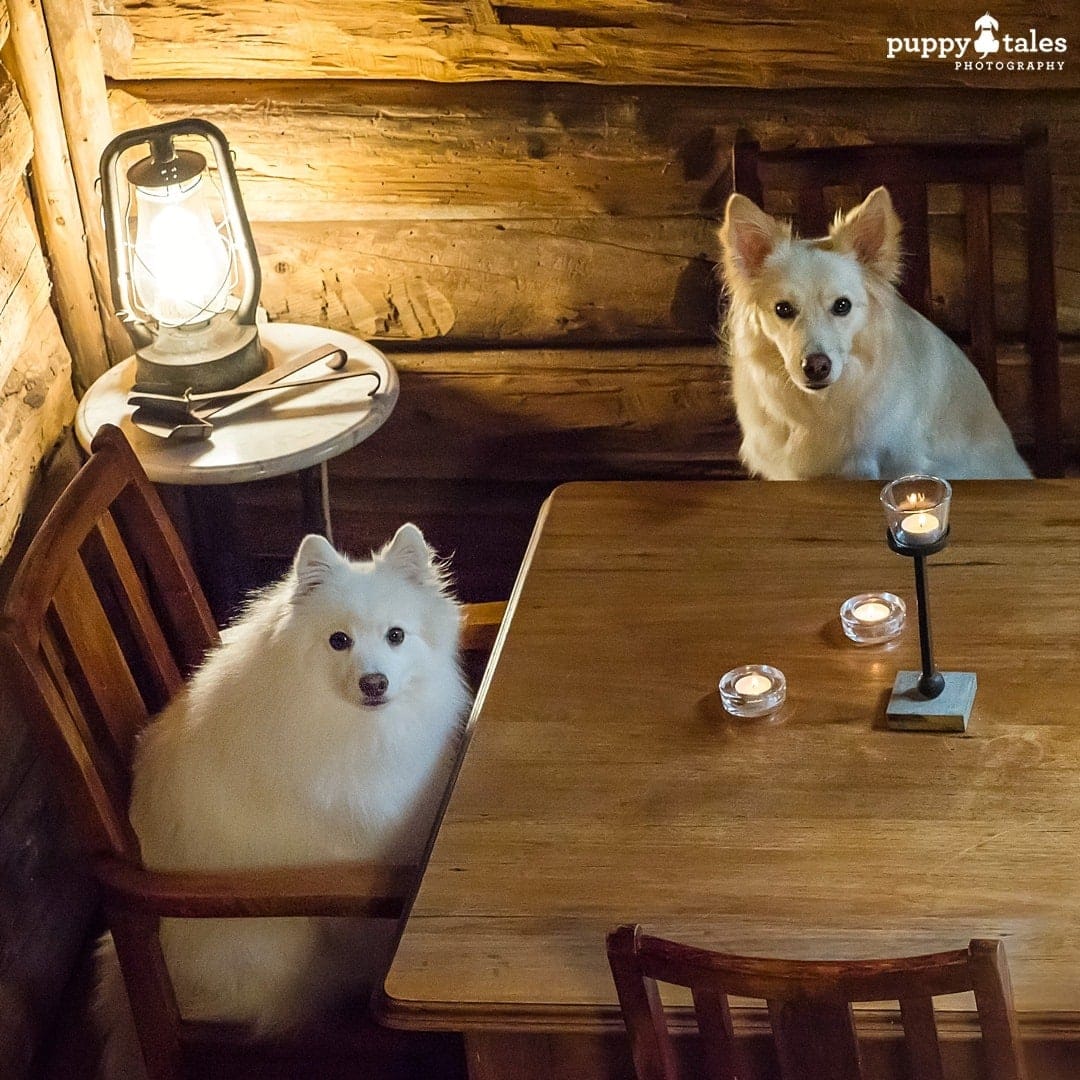
Improvised Light Sources
Sometimes an amazing photographic opportunity presents itself and you don’t have a flash on hand. Don’t worry. Rather than miss out, improvise instead. Check out what other options for adding additional light are available. Some options I’ve used include:
- The torch on your mobile phone
- Torch
- Street light
- Lamp
- Car headlamps
You can use these very similarly to a flash, to create lighting effects such as highlighting part of the scene or simulating window light. OK improvised external sources won’t ‘talk’ to the camera, but they will provide continuous lighting and you can get a pretty good idea of the effect they will create before you even bring the camera up to your eye.
Tips for Using Improvised Light
You’ll have less control over these light sources, so you’ll often need to think as to how you can create the effect you want with them. Sometimes you can adjust the intensity of the light itself – a torch for example often has several light settings. Sometimes you can move it further away or closer (or move your subject further away or closer). You may wish to shade or filter their effect – for example, shine them through a piece of clothing to reduce their intensity. You may be able to bounce the light off another surface to create filtered or textured light. And you can always adjust the exposure recorded in your camera settings.
Also, be aware that external light sources often have a colour cast. An example of this is the orangey-yellow of streets lights or the stark white of LED lights. Be alert for yellow, blue, or other hues and if necessary adjust the colour balance in your camera to remove the cast introduced by the artificial light.
And last but not least, be a light magician, play around and have fun! As with using a flash, there are many options and possibilities for their use in photography.
Creative Colour Balance
As mentioned above, different artificial light sources have different optical tints (which is why you need to choose wallpaper or fabric in natural light!) Indeed, light itself is made up of all colours of the rainbow and the colour cast depends on which shade dominates. This is accentuated when light bounces off a surface, adding further colour.
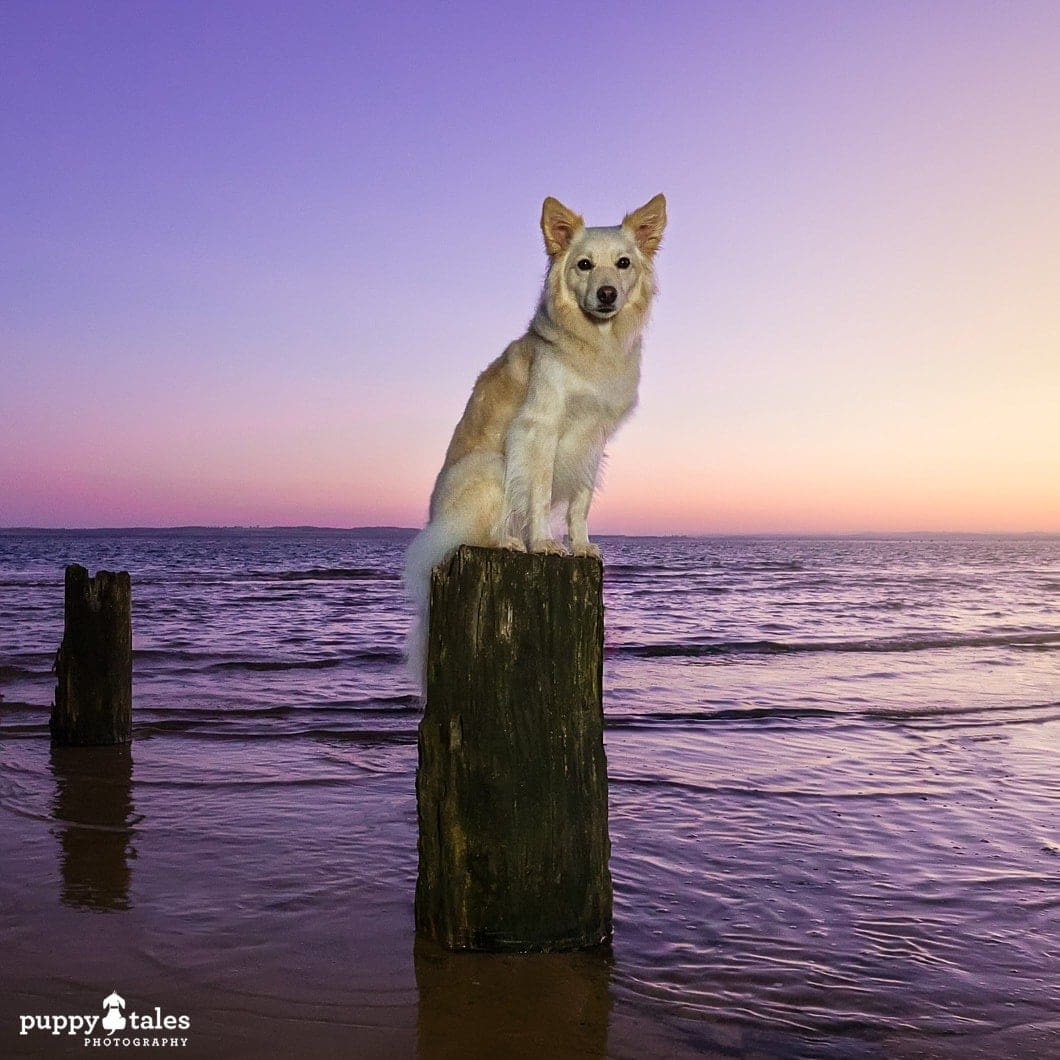
Highly capable digital cameras such as the Olympus cameras, offers you the ability to use a white-balance setting to neutralize or emphasize colour casts. And you guessed it, this allows you to manipulate the atmosphere of the finished photograph, such as adding warmer tones to a portrait or cooler tones to a winter landscape, and create the feeling of being there. Perhaps you can deepening the blue of the sky or the create shades of mauve in your sunrise sky.
To do this isn’t complicated, simply override the cameras auto-white balance setting and intentionally apply a colour balance to the picture.
Introduce golden tones using the ‘cloudy’ or ‘shade’ white balance setting. However, whatever the effect you try, be mindful of the effect it has on the subject. It can introduce hues that on our subject can looks unrealistic or unflattering. For this reason, it can work particularly effectively when paired with a silhouette photo.
I hope you now feel confident about how to be flash with flash… and external lighting. Over to you and your dog to get out there and dance the light fantastic in your next photographs.
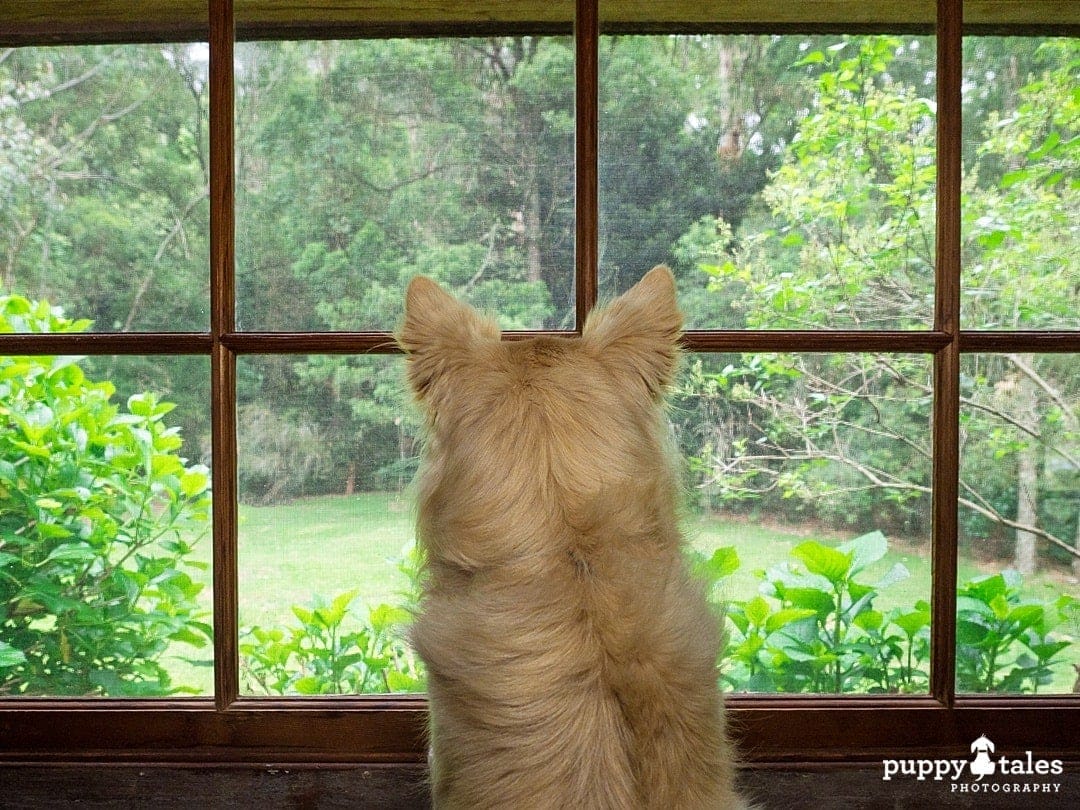
Going hand in hand with mastering flash photography, is working in natural light only! If you’re keen to brush up on your tips for backlighting, creating bokeh and starbursts, then check out our article full of inspiration here.
